
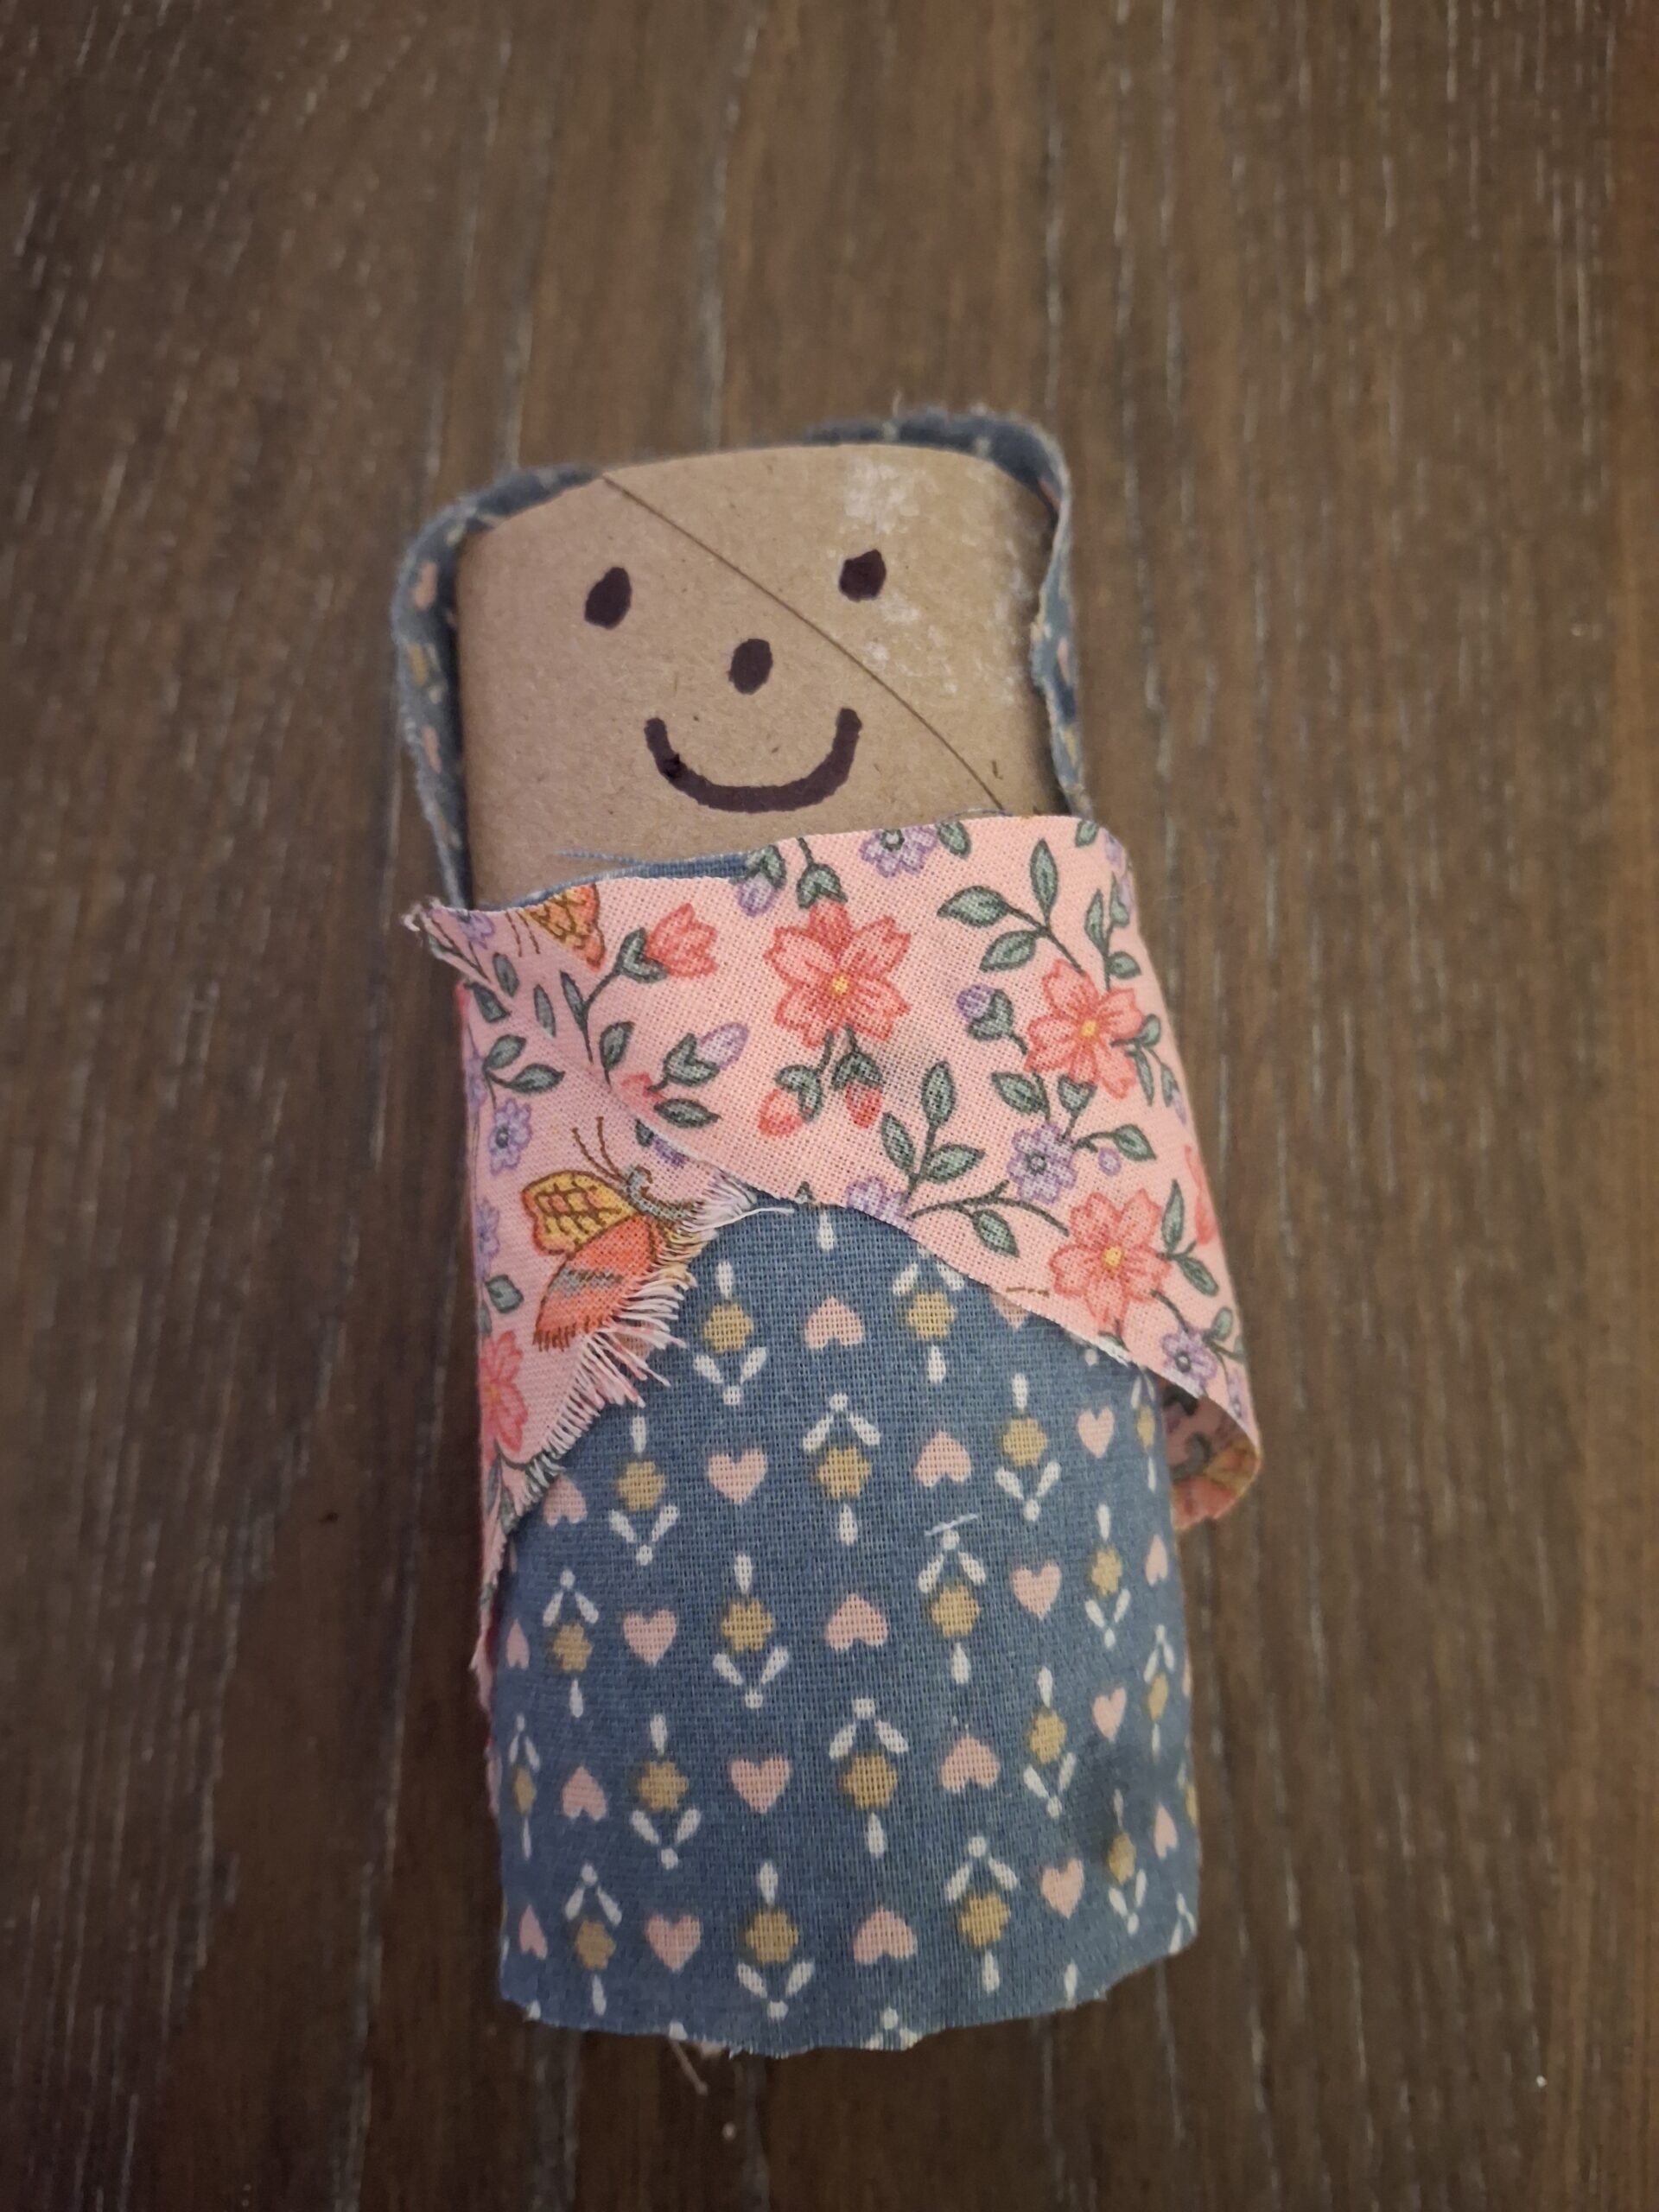
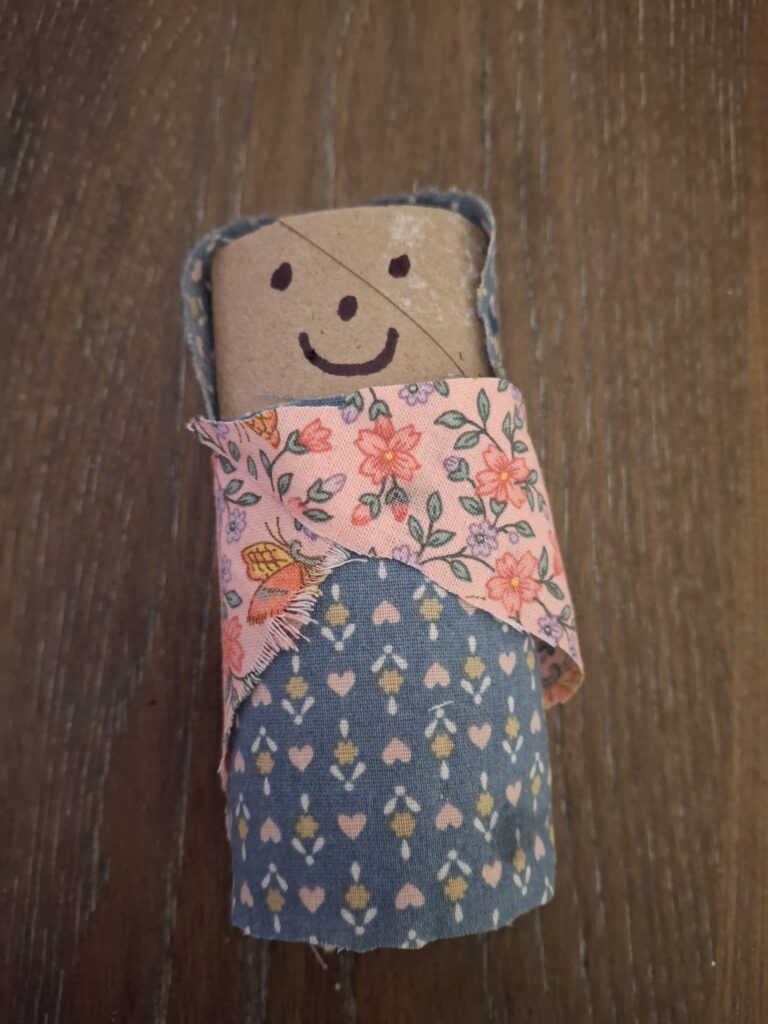
Pioneer children often made their toys from things they already had. Many of them in nature. So my girls made pioneer dolls out of household and craft items. You’ll want to use floral or patterned fabric. Pioneer women often wore calico or floral patterned fabrics. To stay consistent with this time period, try finding 6” by 4” patterned fabric squares. Both Hobby Lobby and Walmart stores carry fabric swatches and squares. However, you may have to measure and cut to get the lengths you need. You’ll want these pre-cut and ready to distribute to your class. You could also use 4” by 4” squares, however, when you wrap around the toilet paper roll,it will not cover all the way leaving an opening. I discovered a creative way to try covering that opening in the back of the roll. The second piece of fabric will be for the shawl that will cover this opening. There are pictures that demonstrate each step of the project, which I hope you find helpful. These dolls are easy and fun to make. My girls loved it, and I hope yours do as well.
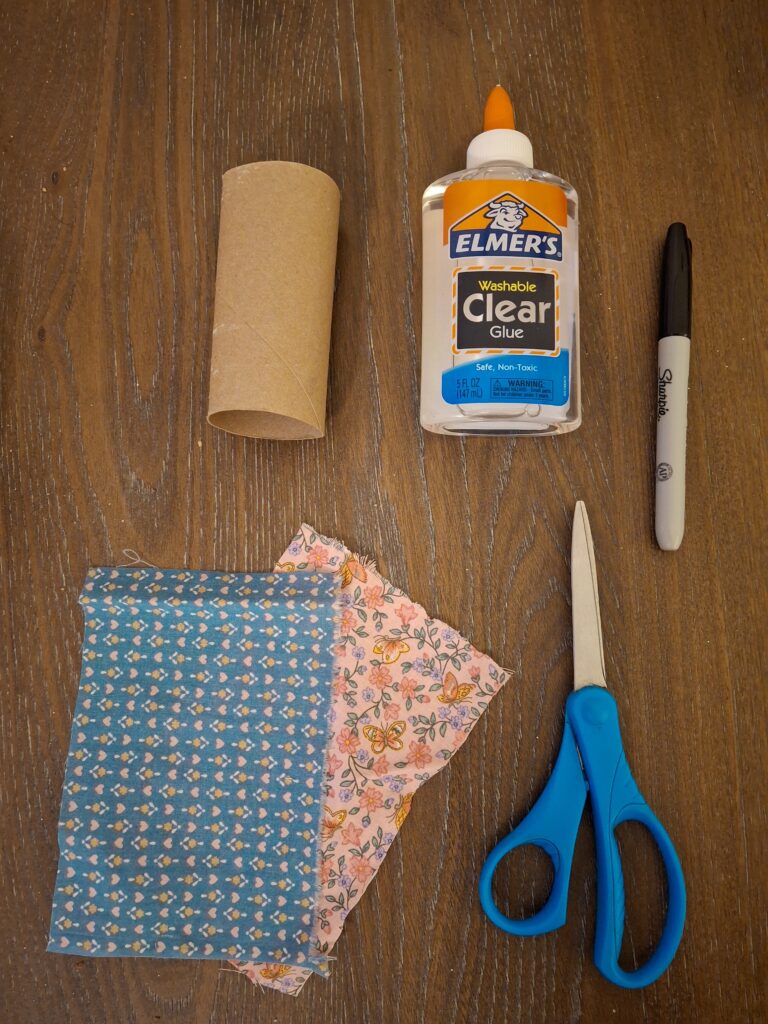
Materials needed:
- 2 different patterned 6” x 4” fabric squares/ rectangles
- Elmer’s glue
- Black sharpie, marker
- Scissors
- Tape measure if you need to measure and cut fabric
Instructions
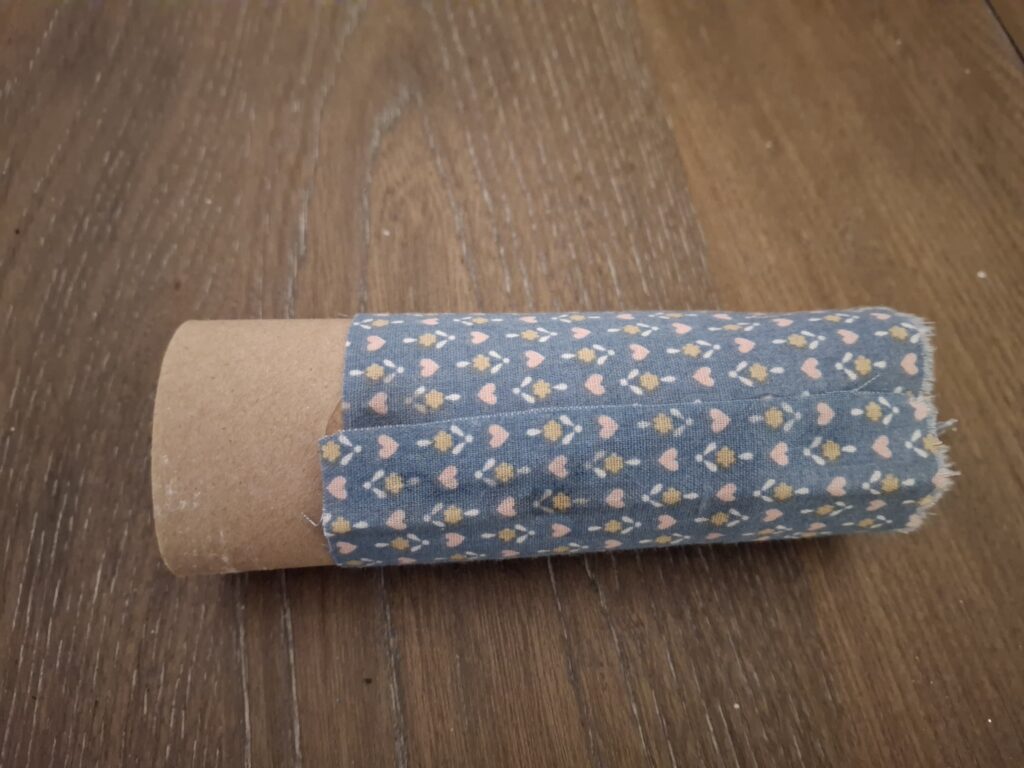
- First, select the piece of fabric you would like to use for the dress for your doll and begin wrapping it around the toilet paper roll leaving about an 1 and 1/2 inches exposed for the face, and 2 and 1/2 inches of fabric wrapped about the roll. You will have access material hanging. That will be used for the bonnet.
2. Next, begin at the 1 and 1/2 inch mark squeezing glue down the side of the toilet paper roll to the edge. Place the 4 inch side of your piece of fabric on the glue, press and hold. Then, wrap piece around and glue underneath the other 4 inch side, press and hold.
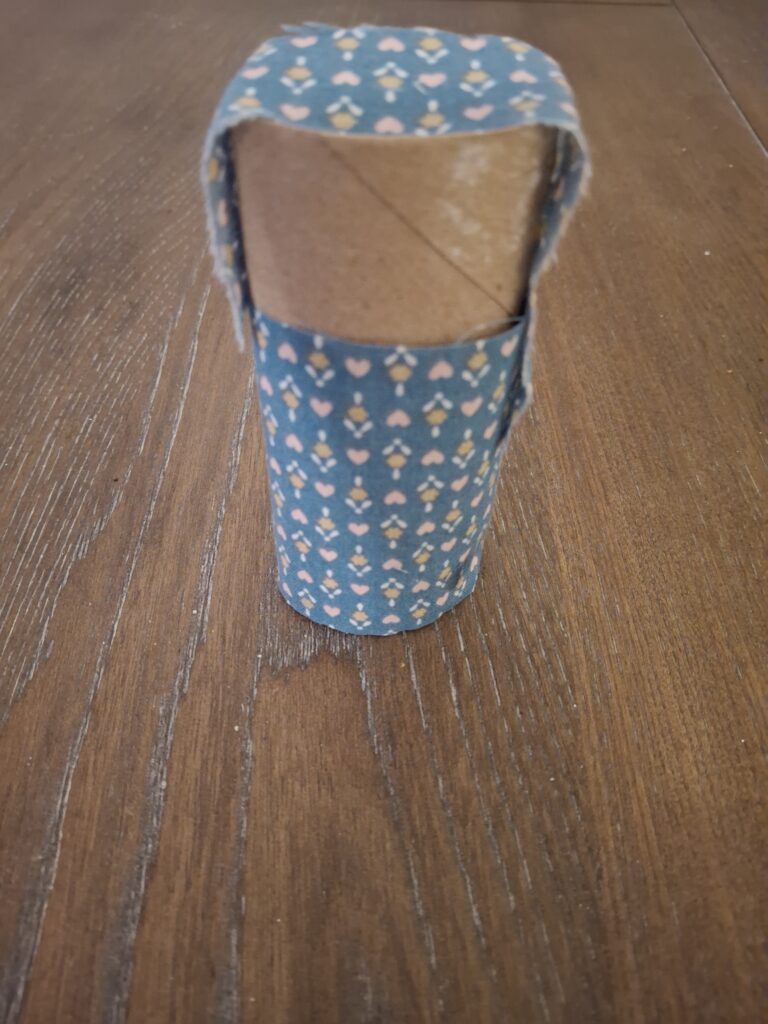
3. Now you need the bonnet for your doll. Trim the access fabric starting where the pieces are overlapped. Be careful that you don’t cut the toilet paper roll.
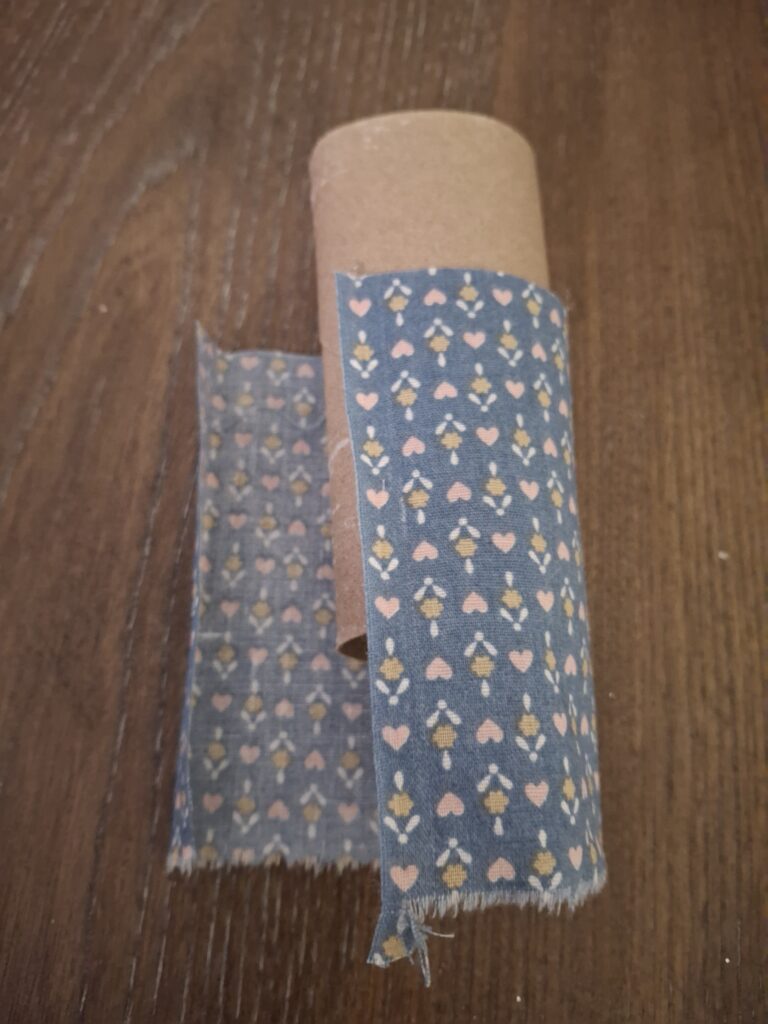
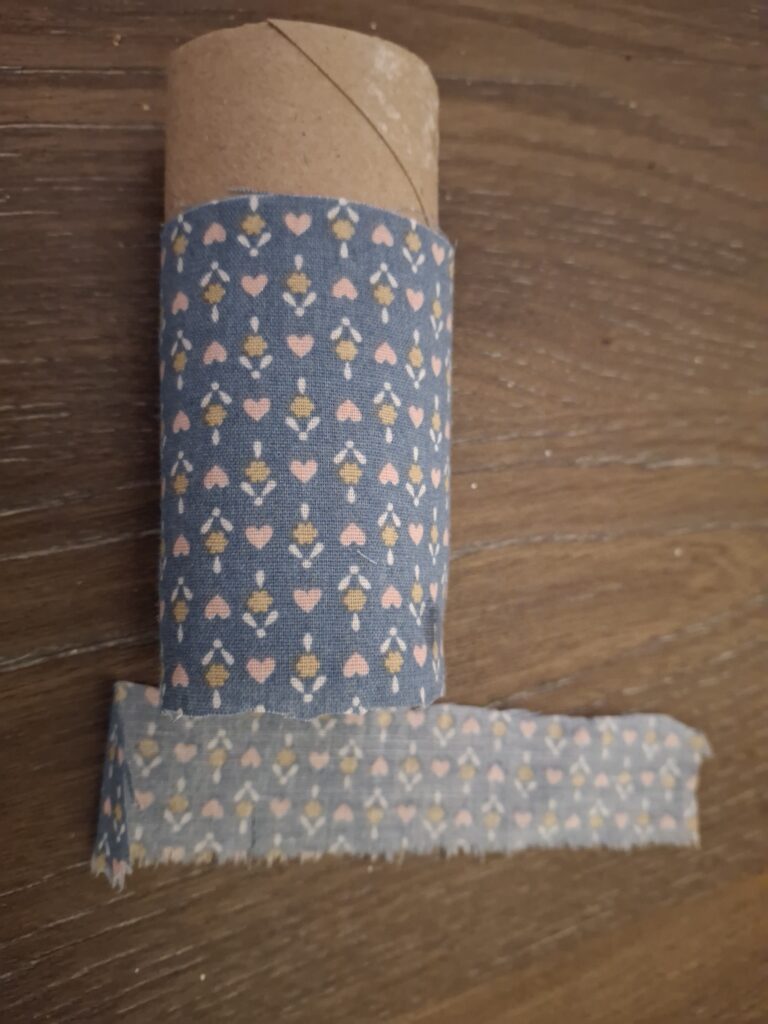
4. To fasten the bonnet, place a dot of glue on each side of the doll’s head( don’t need too much).
5. Lastly, your doll needs a shawl. Take the other piece of fabric and cut diagonally and you will have a triangle. The widest angle should be on the back of your doll. Then, wrap it around the body and overlap in the front. Place a dot of glue to fasten the end pieces, press and hold. It should look like a shall.
6. Finally, take your sharpie to make a face. Two dots for the eyes, a dot for the nose, and draw a smile.
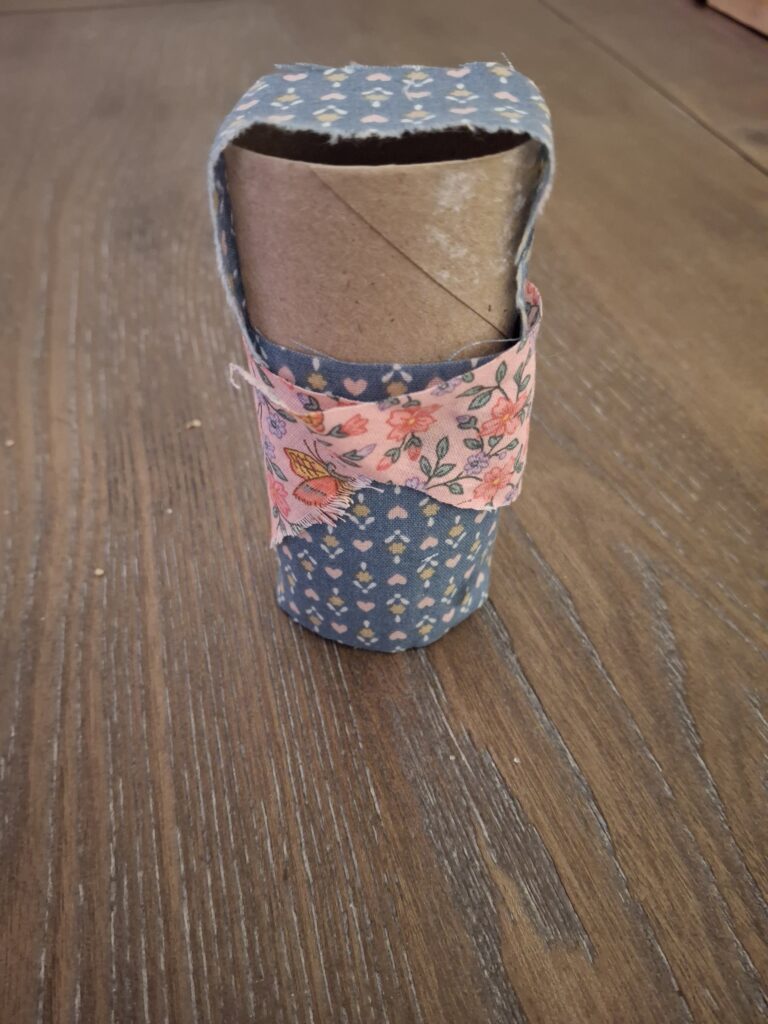
Your doll is finished. Have fun!